NCLEX Test Day Checklist: What to Bring and What to Expect
Prepare for an in-person NCLEX appointment with a practical checklist from ID verification to check-out, and clear guidance on breaks and official results.
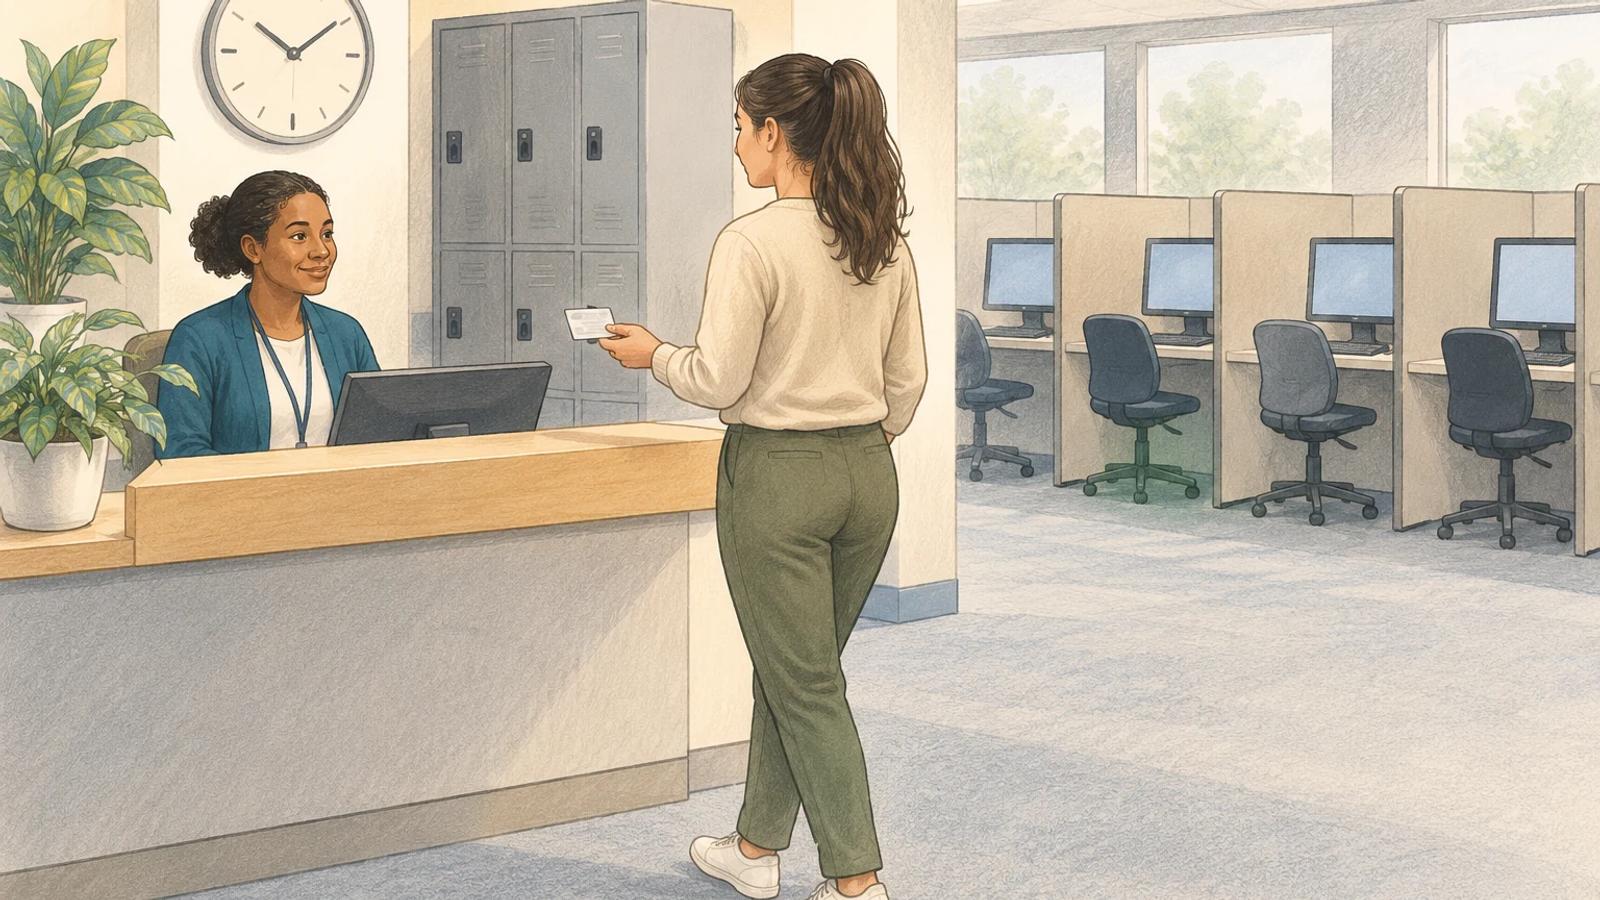
Start with three admission checks: the correct physical ID, names that match your registration, and the right center and local appointment time. Resolve discrepancies before exam day. Then use the checklist below in order—from the days before the examination to check-out.
This guide covers an in-person NCLEX appointment at a Pearson Professional Center. As checked in October 2026, NCSBN says NCLEX Online is not launching in 2026 and has not announced a launch date. Do not treat an online practice exam as an available at-home licensure examination.
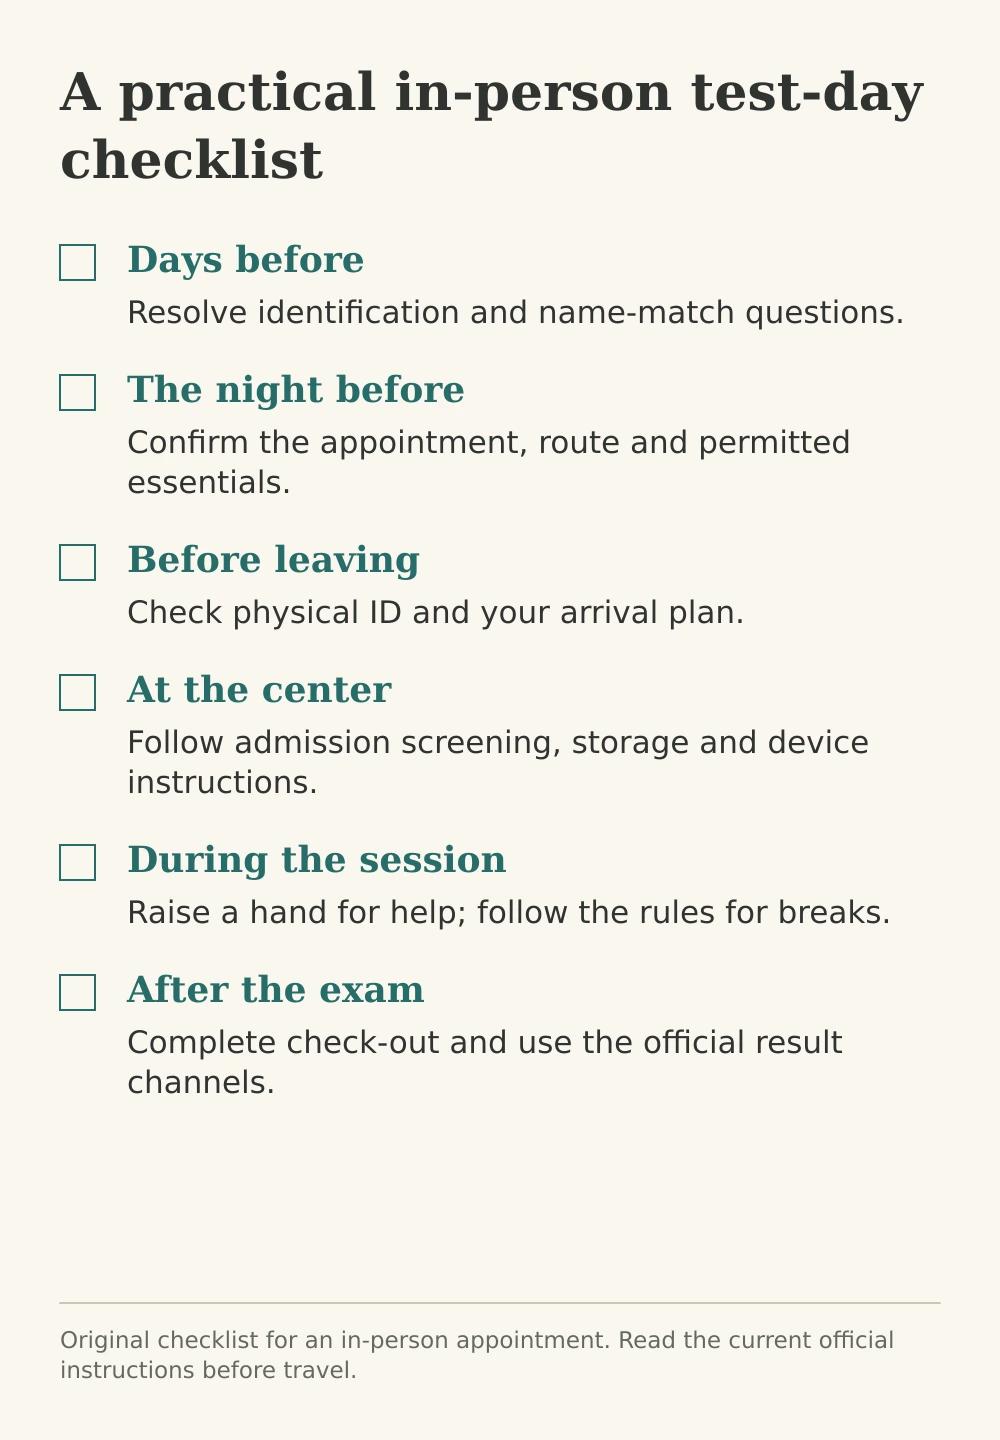
The official details below were checked in October 2026 against the NCLEX exam-day and acceptable-ID pages, August 2026 Candidate Rules, current Candidate Bulletin and results guidance. Read your appointment and accommodation instructions as well; the checklist organizes those requirements rather than replacing them.
Several days before: resolve admission details
- Check your appointment confirmation for the center, date and local time.
- Verify that the appointment falls within your ATT dates.
- Inspect the physical ID you intend to bring: validity, photo, signature and exact first/last-name match.
- Resolve name discrepancies and any required legal-name-change documentation through the official process.
- If approved for accommodations, confirm the booking reflects them.
- Read the current Candidate Rules and test-center instructions.
For the application, ATT and scheduling pathway, use the NCLEX-RN registration guide. This checklist begins with an appointment already booked; it does not replace the licensure application.
Bring the right identification, not just an ID
The official identification requirements call for a physical, unexpired, government-issued document with the required name, recent photo and signature. The first and last names must match the Pearson registration. A digital image on a phone is not the required physical ID.
The domestic-center list includes passport books/cards, driver's licenses, provincial/territorial or state ID cards, permanent-residence cards and military ID cards, provided the requirements are met. For international centers, including Puerto Rico, the stated acceptable document is a passport book or card. Do not assume a domestic option is accepted internationally.
There are additional instructions for an ID without a signature, legal name changes and identification from sanctioned countries. Read the full page if any applies to you, and clarify uncertainty before traveling. Do not arrive expecting a photocopy, school ID or an explanation to replace an acceptable document.
The night before: pack less and confirm the route
Put the checked ID with your travel essentials. Save the appointment details so you can confirm the address and contact the appropriate service if needed. Plan the route, parking or transit, and an arrival buffer; check the center rather than navigating only to a building name.
Wear comfortable clothing that works with the center's rules. Outerwear, hats and other listed belongings stay outside the testing room; religious/cultural dress provisions apply. Review your own accommodation instructions instead of relying on another candidate's experience.
Leave study notes, unnecessary electronics and valuables at home when practical. If you bring food or drink for a break, remember that these stay outside the testing room and are subject to the center's access procedures. Ask the test administrator about permitted access rather than assuming everything in a locker may be used.
Familiarize yourself with the official Pearson candidate tutorial linked by NCSBN before this final evening. Knowing how to use the software is a different task from learning clinical content. You should not have to discover the interface while also deciding an answer.
Before this final evening, use a practice session to check pacing or sustained attention if that is still a learning need. ENDPEAK's CAT Exam offers timed adaptive practice; Practice Exam is self-paced. The format comparison explains what each can rehearse. Neither replaces the official tutorial or center procedures.
Before leaving: make three final checks
- ID: The physical document is in your bag, valid and the one you checked against the registration.
- Appointment: You have the correct location and local start time.
- Arrival: Your travel plan allows arrival at least 30 minutes before the appointment, as NCSBN recommends.
Bring only what is necessary for the trip and permitted break needs. A phone may be useful for travel, but it will not be available as a clock, calculator or study aid during the examination appointment. Follow the device-storage rules from check-in onward.
At the center: expect identification and security checks
NCSBN's exam-day page describes identification, a signature, photograph, palm-vein scan and security screening. Screening also applies when returning from breaks. Refusing required screening without a preapproved NRB exception can prevent admission and forfeit the exam fee.
You will review the Candidate Statement and provide the required electronic signature. Follow the test administrator's instructions and ask about an unclear procedure before proceeding. Friends, relatives and children cannot wait in the test center while you test.
Power off and store electronics as directed
The August 2026 Candidate Rules cover phones, smart watches, smart glasses, smart rings and other electronic devices. They must be powered off and placed in the Pearson-provided bag. Smart accessories are not exceptions because they are small or worn rather than carried.
Do not open the bag during the appointment or on a break. After the examination, return it unopened to the administration desk for the test administrator to open and inspect. Study notes and prohibited devices cannot be accessed during breaks.
Ordinary eyeglasses also have inspection and admission-photo procedures; electronically powered smart glasses are prohibited. Tell the administrator if you have a question about a medical aid, accommodation or permitted personal item. Do not guess or try to bypass screening.
During the session: use the tools and raise your hand
The center provides an erasable noteboard and marker, and the examination has an on-screen calculator. Do not bring a personal calculator or your own scratch paper into the testing room. Raise your hand to request a replacement noteboard or assistance.
The usual maximum examination time is five hours, including the introductory screen and breaks. Read the instructions carefully: after submitting an answer, you cannot return to that item. For the separate question of exam length and stopping rules, see 85 versus 150 questions; the stopping point does not reveal your result.
Breaks are available, but the clock continues
Optional scheduled breaks are offered at approximately two hours and three and a half hours of testing. You can request an unscheduled break by raising your hand and waiting for the administrator. All breaks count against testing time. Follow the escort and re-entry procedures.
The distinction is worth rehearsing in preparation: a break may help you reset, but it is not a pause in the exam clock. Do not use a break to consult notes or messages. Ask the administrator which permitted belongings you may access outside the room.
If there is a technical problem
Raise your hand immediately if the computer or software appears to malfunction. Do not try to fix the workstation, move terminals or use the computer for another purpose. Describe the issue to the administrator and follow their instructions.
The Candidate Bulletin describes the choice to continue waiting or reschedule without an additional fee when a start or restart delay exceeds 30 minutes. Let staff explain the applicable process; do not assume any brief issue invalidates the examination or that you should leave without checking out.
Noise, materials and room procedures
Other candidates may be typing for different examinations. The center cannot promise silence. Earplugs are available from the administrator; the rules do not permit bringing your own. Use the noteboard only as allowed and return it afterward. Do not copy examination content for later review.
After the exam: check out before accessing your belongings
Complete the short survey when prompted, raise your hand and wait for dismissal. The administrator collects the noteboard and handles the device bag. Do not take notes, examination material or equipment from the room.
If an administration problem affected your session, report it before leaving. The Candidate Rules provide a 14-day contact window for examination concerns. Keep your report about what happened operationally; do not reconstruct or share protected test questions with friends, tutors or social media.
Use the official result channel
The test center does not release results. Official results come from your NRB; the published guidance allows up to six weeks, with timing varying by regulator. If that period passes without a result, contact the NRB rather than the test-center staff.
Quick Results may provide unofficial results after two business days for candidates seeking U.S. licensure through participating NRBs. As checked in October 2026, the service costs $7.95. It is not available for every jurisdiction and does not authorize practice as a licensed nurse.
Do not use the number of questions, the final item or an unofficial registration “trick” as your result. Once you have checked out, wait for the actual reporting channel. If the result is unsuccessful, the CPR guide explains how to turn official feedback into useful preparation.
ENDPEAK publishes independent NCLEX-RN study resources. Exam rules are checked against official NCSBN sources. Original teaching examples are identified as such, and clinical review is credited only when it has actually occurred. ENDPEAK is not affiliated with or endorsed by NCSBN.